“I’ve Got an App Idea!” — What You Need to Do Before You Talk to a Developer
“I’ve got an app idea!” Great. Now what? Before you look for a developer, read about the homework you need to do first so your idea doesn’t die before it even starts.
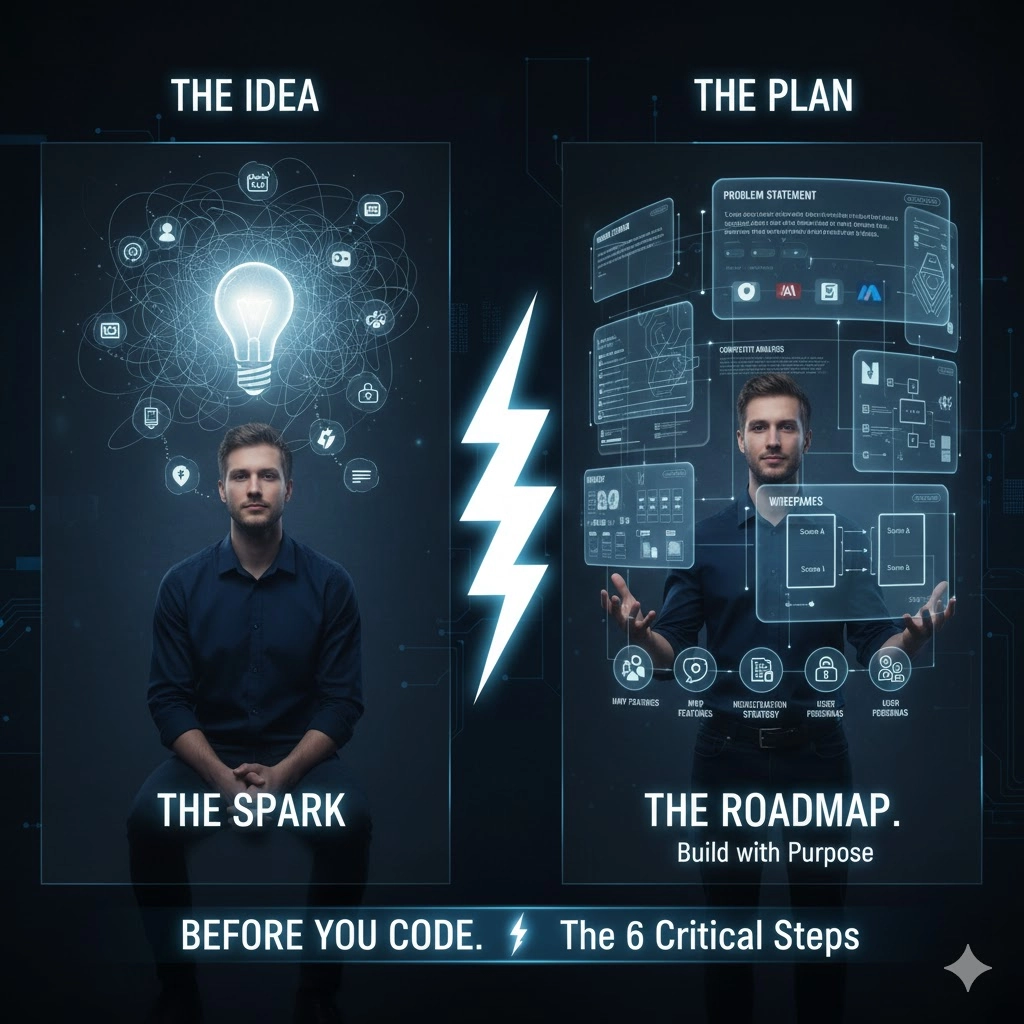
“I’ve got an app idea!” Great. Now what? Before you look for a developer, read about the homework you need to do first so your idea doesn’t die before it even starts.
It’s that moment. In the shower, in the car, just as you’re about to fall asleep. Bam! It hits you. The Idea. An app that will solve a problem, change the way we do something, become the next big thing.
It’s a fantastic moment. There’s excitement, adrenaline. The first thing you think is: “I need to find someone to build this. Yesterday!”
And right there, in 90% of cases, the idea just started on its path to die.
Why? Because most people rush blindly into launching mobile and desktop apps instead of deeply designing the underlying solution. The idea itself, no matter how brilliant, is worth 1%. The execution is the other 99%. And execution doesn’t start with coding. It starts with… paper.
If you have an idea, do yourself (and your wallet) a favor. Don’t call a developer yet. Do these 6 steps first.
Step 1: The Reality Check. What problem are you really solving?
Grab a piece of paper. Write, in one sentence, what problem your idea solves. Sounds simple? It’s not.
- Bad example: “I want to make a social network for gardeners.” (This isn’t a problem. This is your idea).
- Good example: “Amateur gardeners struggle to find exactly when and how to prune their plants and don’t trust generic Google advice.” (This is a problem).
If you can’t describe the problem you’re solving, crystal clear, you’re not ready.
Step 2: The “Am I the Only One?” Check
Just because you have this problem (or think others do) means nothing. You have to get out of your own head.
Talk to 10 real people you believe are your audience. (Not your spouse, your mom, or your best friend. They will lie to you to make you happy). And don’t ask the worst question of all time: “If I built an app that does X, would you use it?” Everyone will say “yes.” It costs them nothing.
Ask the best question: “How do you solve this problem now?”
- If they say: “Oh, I don’t, I just deal with it,” you’ve got something.
- If they say: “Eh, I write it in a notebook,” you’ve got something.
- If they say: “Oh yeah, I use the [app name] app, it’s great!” then you just found your competitor.
Step 3: Look Around (The Competition)
“My idea is unique, no one has ever thought of it!”
Sorry to burst your bubble, but statistically, that’s almost impossible. Search Google, search the App Store. Find who else is trying to solve the same problem. Download their apps. Use them. What do they do well? What do they do terribly? Where do they get stuck? What’s missing?
Your opportunity is almost always hidden in what others are doing terribly.
Step 4: The “One and Only” Thing (MVP)
Your excitement makes you want everything. “I want it to have chat, and a calendar, and connect to the fridge, and automated smart features…”
Stop right there. Stripping away complex features like futuristic AI and machine learning solutions for version 1.0 is the smartest move you can make.
A successful application starts by solving one single problem exceptionally well. This is your MVP (Minimum Viable Product). This foundational blueprint forms the bedrock of strategic, cost-effective tailor-made software development.
What is the absolute minimum your app needs to do to solve the one problem you wrote down in Step 1? If your idea is a car, your MVP isn’t a wheel. It’s a skateboard. Something simple that gets you from A to B. Focus entirely on the core. Everything else goes on the “For Later” list.
Step 5: The Napkin Plan (The Blueprint)
Before you go to a designer, before you open Photoshop… grab a pencil and paper.
Draw “boxes.” These are your screens. What buttons will each screen have? What happens when the user presses button A? It goes to screen B. What’s on screen B?
It doesn’t need to be pretty; it needs to make logical sense. Whether your concept eventually lives on a smartphone screen or scales into robust enterprise custom web applications and platforms, these “boxes and arrows” are your wireframes. They are the structural blueprint for your digital house. No engineer builds a house without a blueprint. No developer should build an app without these “boxes.”
Step 6: “This is all great… but how do we make money?”
“We’ll figure it out later” is a recipe for failure. The way you make money (monetization) defines the app’s fundamental design.
- Will it have ads? (You need designated space for them).
- Will it be a subscription? (You need a secure login, user authentication, and payment processing portals).
- Will they buy it once? (Simpler, but hard to scale).
- Will it be free for users, but you charge third-party businesses? (e.g., like DoorDash or Uber Eats).
Mapping these structural requirements early on establishes the technical foundation for seamless intelligent automation and API integration with external payment gateways and notification systems down the line. Decide now.
Now You’re Ready
If you’ve completed these 6 steps, congratulations. You no longer have just a vague “idea.” You have a concrete plan.
You have a clear problem, proof that others face it, a solid grasp of the competition, a tightly focused set of features (MVP), a functional blueprint (wireframes), and an established monetization strategy.
Now is the time to call us, or whichever development partner you trust.
Because now, you won’t be asking them to guess what’s trapped inside your head. You’ll be handing them a map. And with a map, the journey from abstract idea to tangible reality becomes achievable.